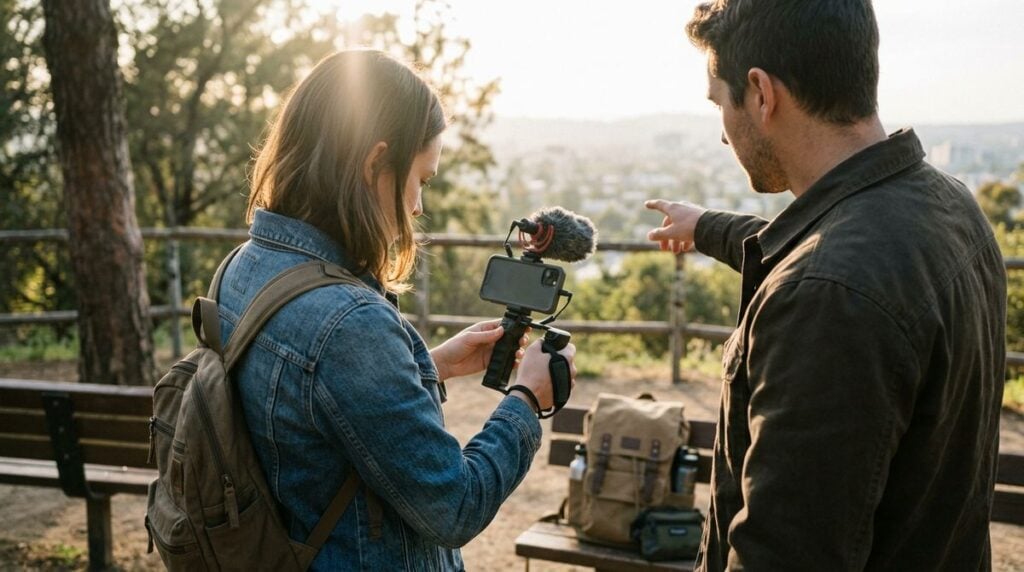
Every community holds stories that risk fading away if no one takes the time to document them. From neighborhood shopkeepers who remember streetcars to families preserving traditions across generations, oral history captures the rhythm of daily life. Starting a modest recording project does not require a commercial production suite or specialized broadcast staff. Many of the most memorable audio narratives begin right at a kitchen table, a corner desk, or a small folding workspace.
Working from a shared residence brings unique considerations. Household routines, ambient neighborhood noise, and modest equipment require thoughtful planning so that guests feel comfortable and listeners receive clear recordings. By approaching the endeavor with clear organizational habits, practical audio basics, and reliable printed materials, anyone can build a lasting collection of community conversations.
Choosing a Focus and Preparing the Living Space
A successful grassroots project begins with a clear, manageable scope. Instead of trying to interview everyone about everything, select a single cohesive theme for your initial series. You might explore how local public gardens took shape, how immigrant families adapted traditional recipes, or how neighborhood artisans learned their trades. Having a defined focus reassures your guests, helps you prepare thoughtful conversation prompts, and keeps each session focused.
Designating a physical zone within a busy home requires communication with the people who share your living quarters. Kitchens, hallways, and common living rooms carry foot traffic that can disrupt an afternoon recording. Setting aside an underused nook or repurposing a study desk gives you a predictable area to keep cables organized and paperwork close at hand.
Balancing household harmony with a creative endeavor often calls for external advice or family coordination. When coordinating equipment and setting aside shared household square footage, reviewing practical methods for calling in help for your spare corner can keep common areas functional while keeping family members informed. When household members understand the schedule and see an orderly workspace, they are much more likely to support quiet recording windows.
Capturing Clean Voice Audio on a Modest Setup
Clarity matters far more than elaborate sound processing. Listeners forgive minor background imperfections, but muffled dialogue or shrill distortion quickly causes listening fatigue. In residential environments, hard surfaces such as bare floors, glass windows, and unadorned walls bounce vocal reflections straight into your recording equipment. Placing a dense area rug on the floor and closing curtains can dramatically reduce room echo without costly acoustic panels.
Selecting the right vocal capture gear helps you record speech without pulling in unwanted house noise, such as refrigerator hums or distant road sounds. Dynamic microphones with cardioid pickup patterns naturally reject off-axis sounds, making them well suited for standard residential rooms. Understanding basic capsule types and polar patterns helps prevent muffled speech, and consulting educational material on Microphone Authority offers helpful guidance on selecting reliable hardware that captures clean dialogue in untreated rooms. Simple accessories, such as a foam windscreen and a sturdy desktop stand, further isolate spoken voices from mechanical vibrations.
Before inviting a neighbor or family member to sit down, run a brief trial run by speaking at various distances from the microphone. Keep the capsule roughly a handbreadth from the mouth, positioned slightly to the side to avoid plosive bursts of air from hard consonant sounds. Monitoring the recording through closed-back headphones lets you catch unwanted hums or low rumble before concluding an irreplaceable conversation.
Managing Print Materials and Session Paperwork
While audio software handles the sound, tactile paperwork keeps an oral history project grounded and legally clear. Relying solely on glowing laptop screens can create an impersonal barrier between interviewer and guest. Having physical sheets on a clipboard allows you to maintain eye contact, nod along, and refer to notes without tapping on a keyboard or clicking a noisy mouse.
Every session benefits from physical documentation, including simple question outlines, contact sheets, and participant release forms. A short release form explains how the recorded dialogue will be shared, whether through a neighborhood blog, a community library archive, or a school website. Handing an interviewee a clean, printed copy demonstrates respect for their time and ensures that both parties agree on how the material will be handled.
Because these printed materials must be ready before guests arrive, dependable home printing is essential. When technical hurdles arise right before an interview session, troubleshooting steps from How to Fix my Printer can help resolve paper feeds, connection drops, and alignment errors without stalling the day’s schedule. Keeping spare paper loaded and confirming printer connectivity well ahead of your interview leaves you free to concentrate on welcoming your guest.
A Step-by-Step Workflow for Each Recording Session
Consistency reduces anxiety for both you and your interview subjects. When you follow a predictable checklist, you minimize technical oversights, such as forgetting to hit record or leaving an appliance running in the next room. Setting up your table early creates a calm environment where conversation can flow naturally.
- Confirm the appointment time with your guest and review their comfort requirements.
- Turn off air conditioners, fans, and phone alerts in adjacent rooms during the interview.
- Lay out your printed question guide, consent forms, and fresh pens on the table.
- Perform a brief vocal level check to ensure audio registers clearly without distortion.
- Transfer and duplicate the raw sound files onto an external drive immediately after recording.
During the conversation, focus on attentive listening rather than rushing to the next question. Give your guest several seconds of silence after they finish an answer; often, the most reflective insights come when an interviewee has a quiet moment to expand on an initial thought. Keep a glass of water nearby and allow short pauses whenever someone needs a break.
Preserving and Sharing Voices for the Future
Once a recording is complete, archival stewardship ensures your work remains accessible for years to come. Uncompressed audio formats provide a durable foundation that will not degrade across different playback platforms. Label your files with consistent naming conventions that include the participant’s name, the topic, and the recording date. Storing a duplicate copy on a secondary drive or reliable cloud storage protects irreplaceable family memories against hardware failure.
Sharing these local accounts helps foster a deeper sense of connection across neighborhoods and generations. Whether you compile short audio vignettes for a community group, donate transcripts to a historical society, or simply share memories with relatives, oral storytelling preserves shared human heritage. With patience, modest tools, and respect for the people around you, a small corner of your home can become a welcoming archive for voices that deserve to be heard.